Yumi and I have two great friends, Aubrey and Kent, and they got hitched in mid May. Kent is a bike minister and when he saw the tandem I'd recently acquired he asked if Aubrey and he could ride it as part of their wedding. I was happy to oblige but I quickly realized that the tandem in its current state was not worthy of the wedding it would participate in. Yumi and I brainstormed turning it into a horse or unicorn but during our search for other bicycles that had been transformed into four legged creatures we came across an image of a Falkor-shaped bicycle. The image of Kent and Aubrey astride a Falkor tandem was too amazing to turn away so we started figuring out how to make the dream come true. This post details how we built Falkor over two days and some weekday evenings with the help of several friends: Johnny, Antonia, and Charlie.
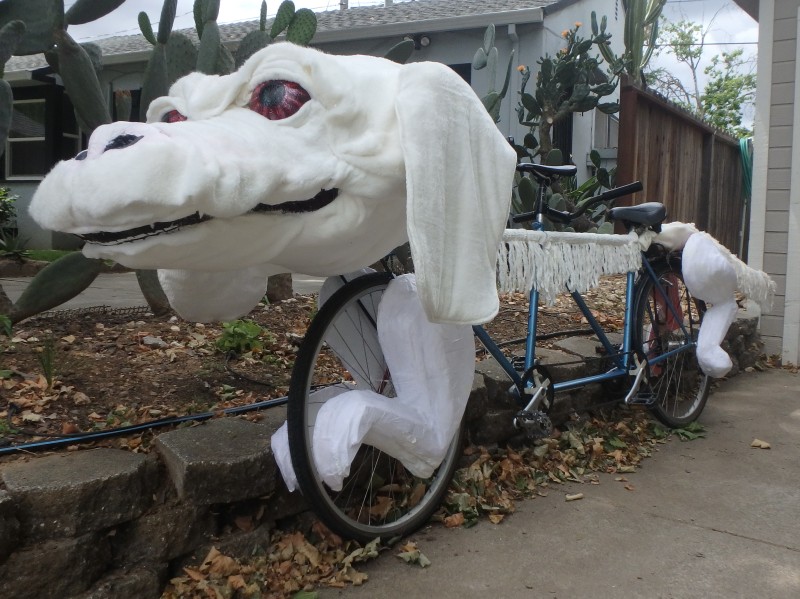
Falkor the Luck Dragon Tandem
Build Description
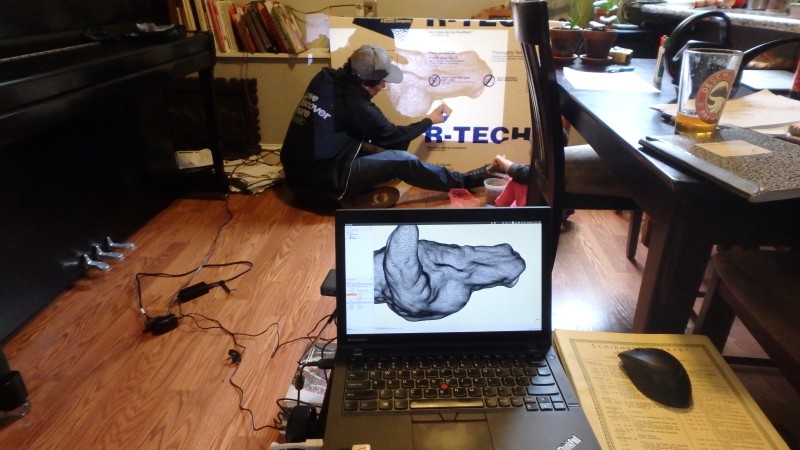
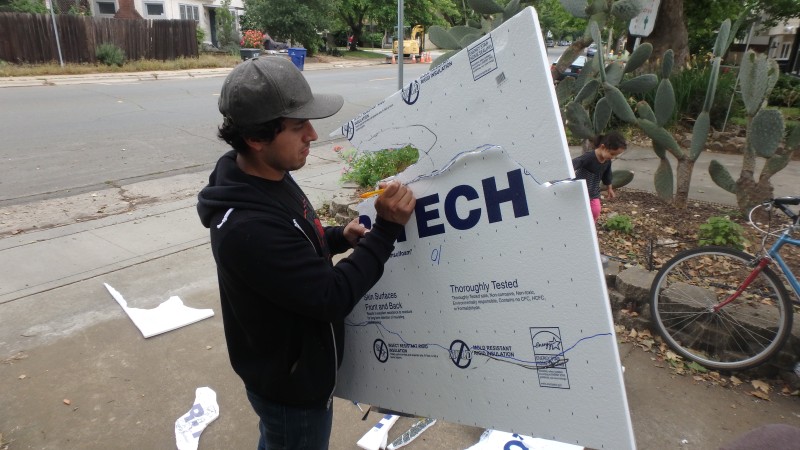
We were able to find a 3D model of a Falkor in STL format online. I loaded this in FreeCAD (which took forever due to the number of nodes) and sliced it into cross sections that proportionally ensured the correct width of the actual head given the 1/2" foam board. We projected these cross sections onto the foam board and traced them ensuring that the there were some reference marks for proper alignment after they were all cut.
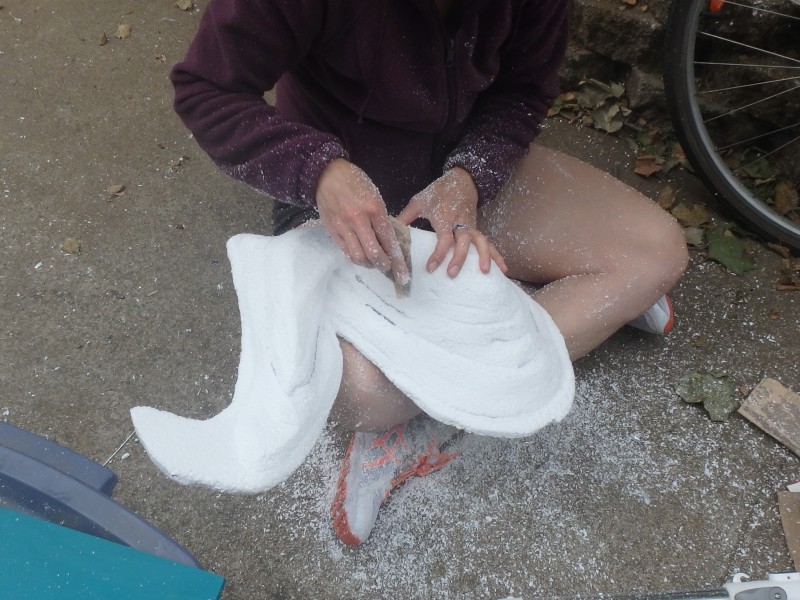
We used long razor knives to cut out the cross sections.
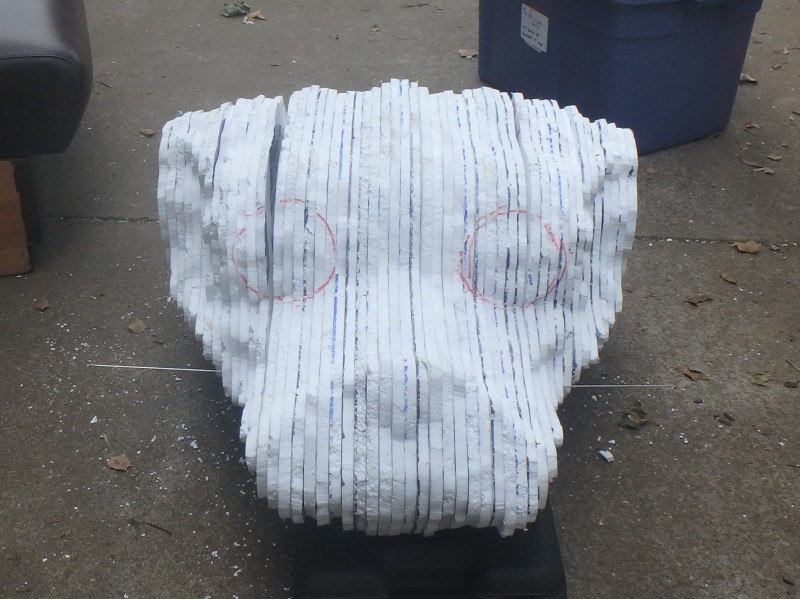
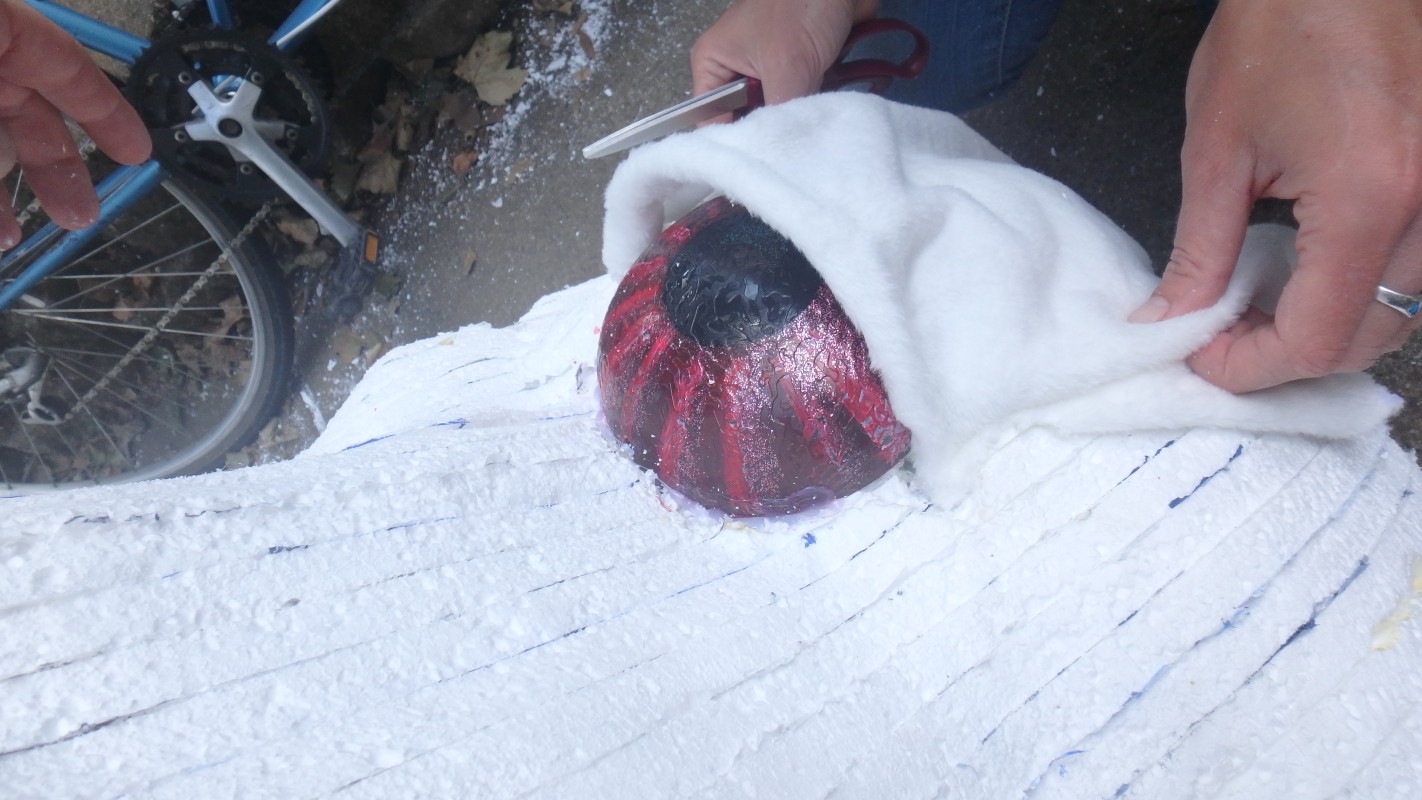
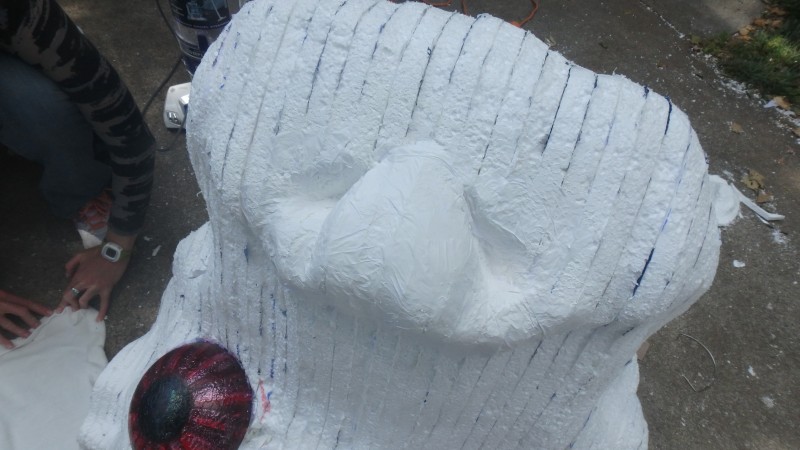
This shot shows the layers stacked up (not quite properly aligned) and the eye balls which were made from a dollar store plastic coconut bra and painted with nail polish.
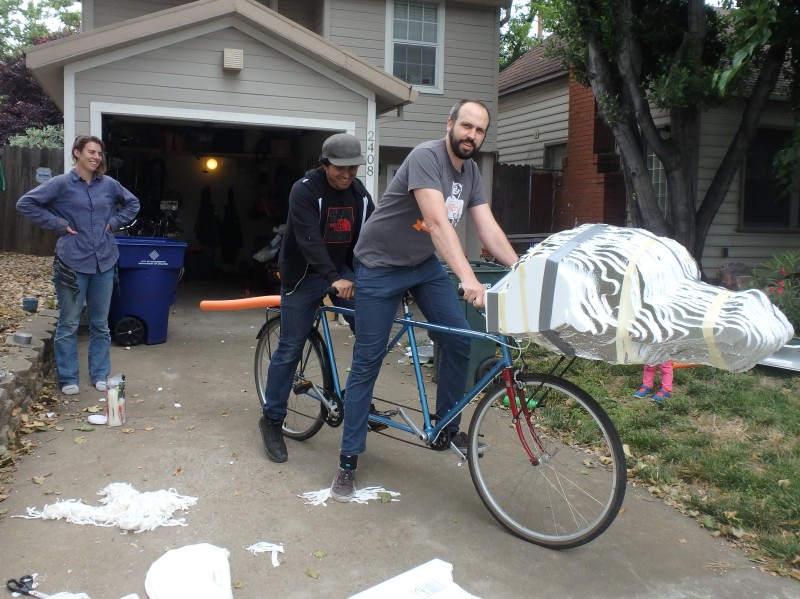
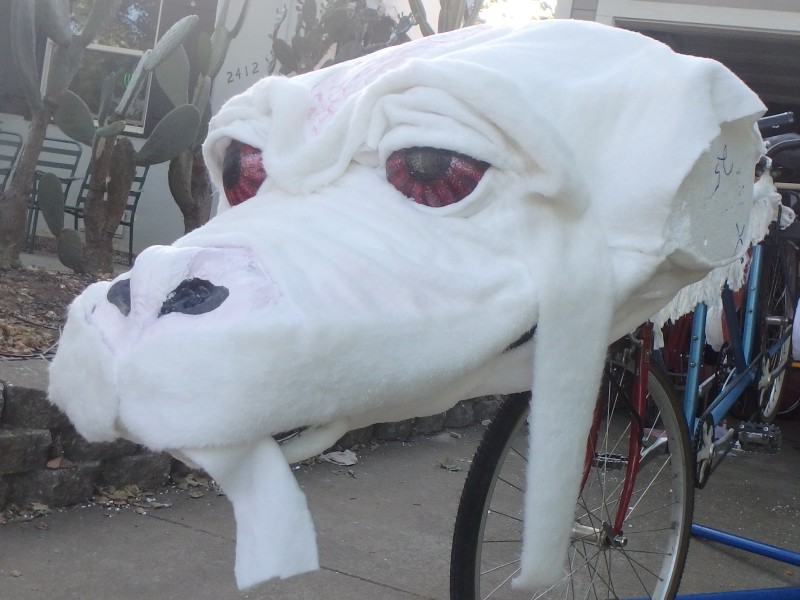
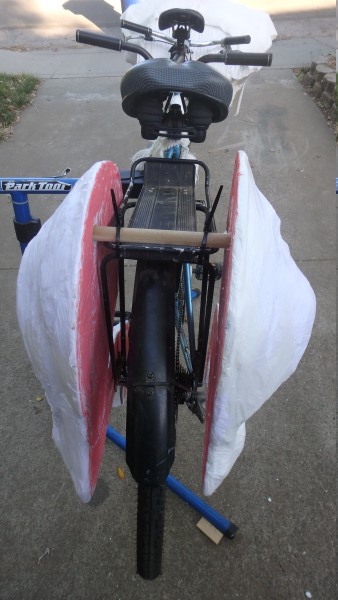
At this point we'd been debating how to mount the head, either on the frame or on the fork/handlebar assembly. To determine if the mass would make steering too difficult we duct taped the head to a front mounted rack and gave it a whirl. The inertia of the head definitely increases the difficulty when starting but it works well enough to get around.
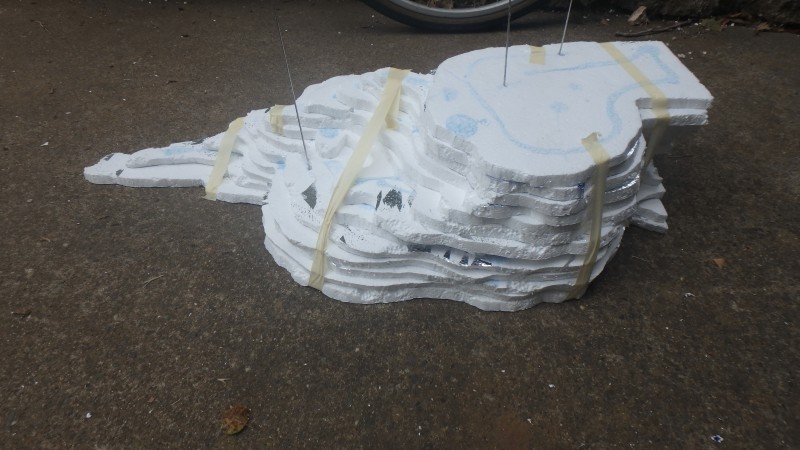
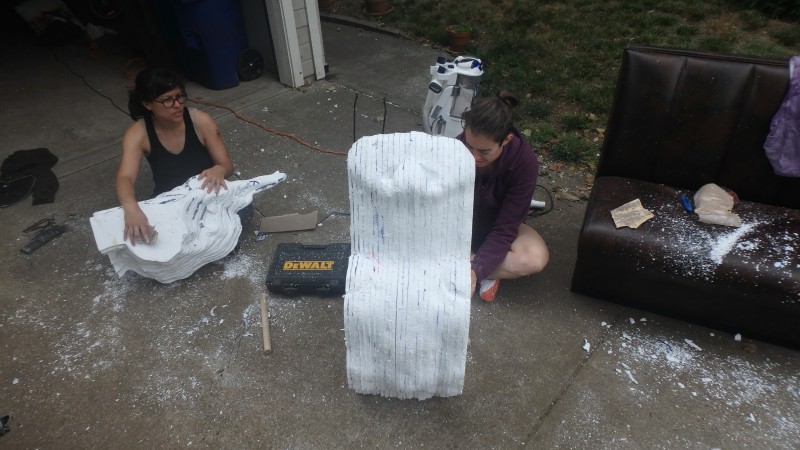
Antonia and Yumi glued the foam board together using foam board glue. The spokes were punched through the reference marks to ensure proper alignment. The seems to take at least two days to actually cure so we had some problems handling it the next day and had to often realign the layers when they were out of place.
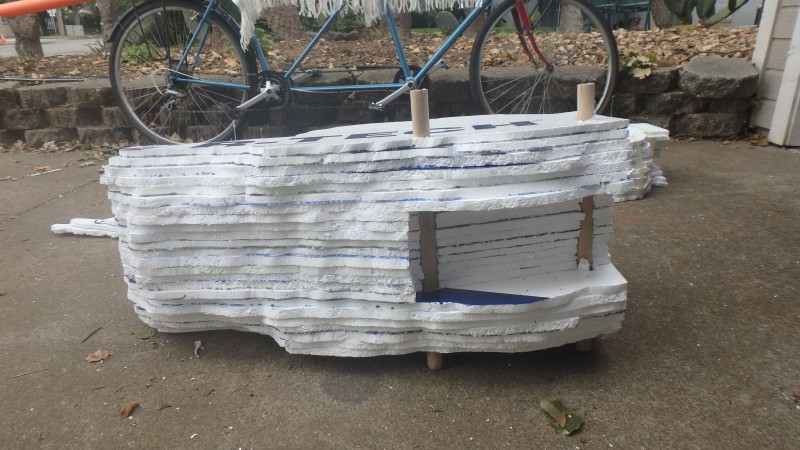
The head was glued together in three sections. In the middle section we installed wooden dowels for secure attachment points to the front rack.
With all of the head sections glued together the head is starting to look more like Falkor.
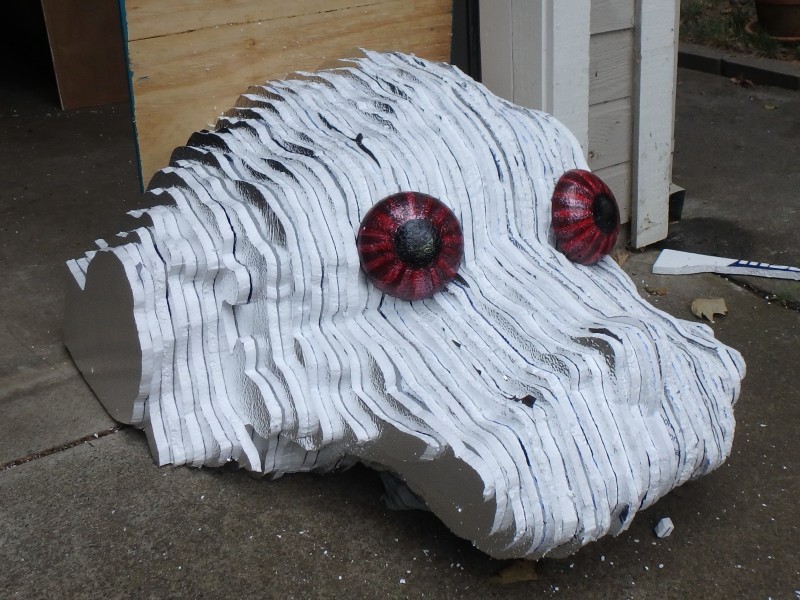
We then sanded the foam on the head to blend in all of the cross sections. Heavy grit sand paper did a great job at this except for the fact that we didn't remove the film on both sides of the foam board. We removed most of the metallic film but didn't think to remove the translucent film and it prevented us from completely hiding the cross section seams.
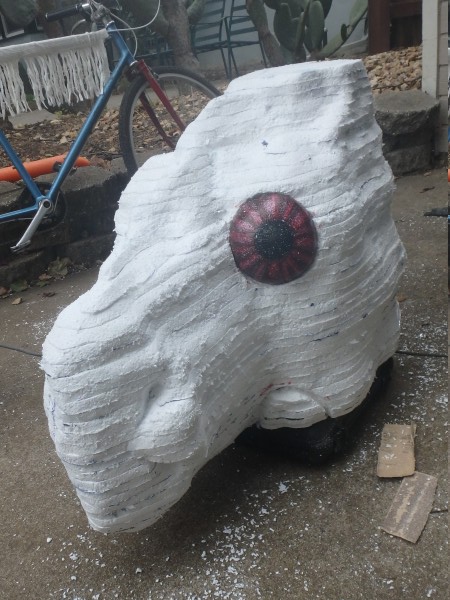
Once sanded, the facial features start to stand out.
Johnny had the idea to bring the eyelids to life, which I was reluctant to pursue. But I couldn't get the idea out of my head and worked out that it wouldn't be too hard to implement. We installed some wall board anchors into the foam to act as a hinge point and shaped a spoke into the edge of the eyelid. We also carved grooves into the head for the shifter cable and cable housing which would function as the actuators.
Antonia covered the eyelids with our Falkor skin (dollar store car chamois).
We decided to cover most of the head with the chamois, except for the nose and forehead. Antonia hand shaped the nostrils and covered it with some light paper mache and white paint.
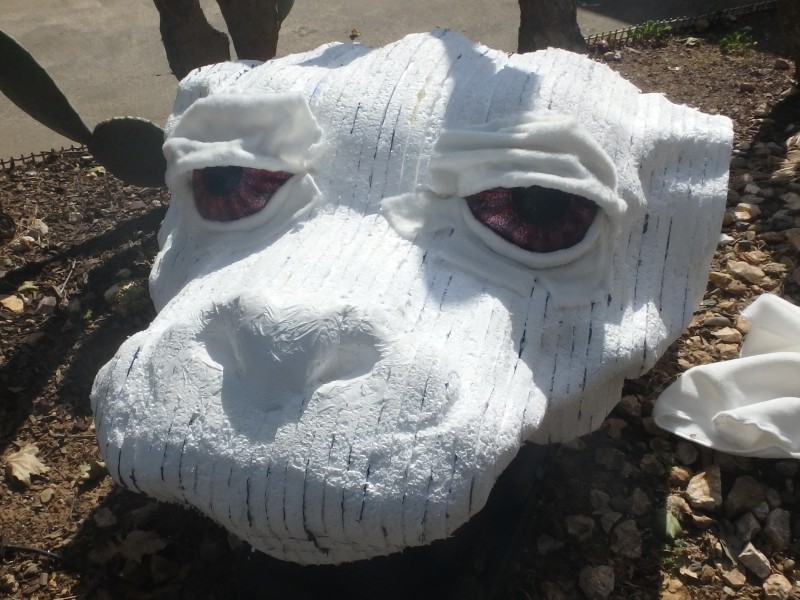
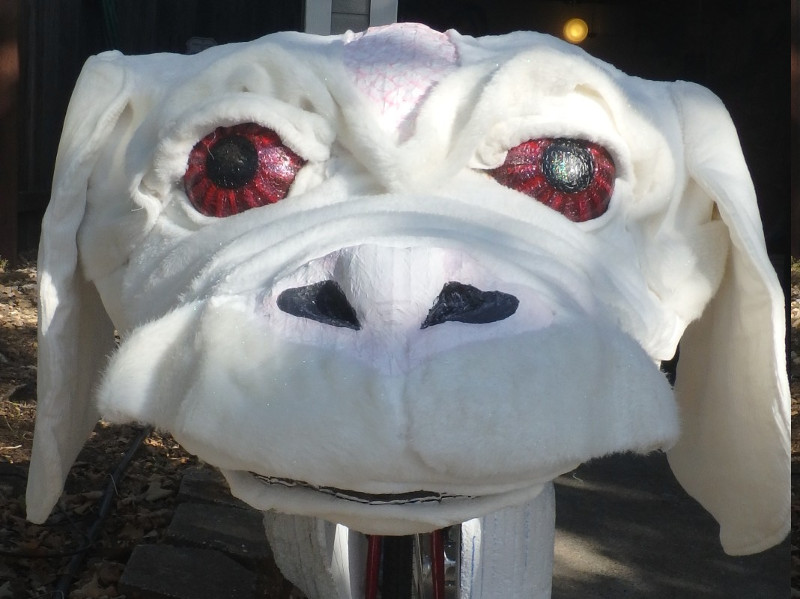
With the nose and eyes defined, the head started to really look like Falkor.
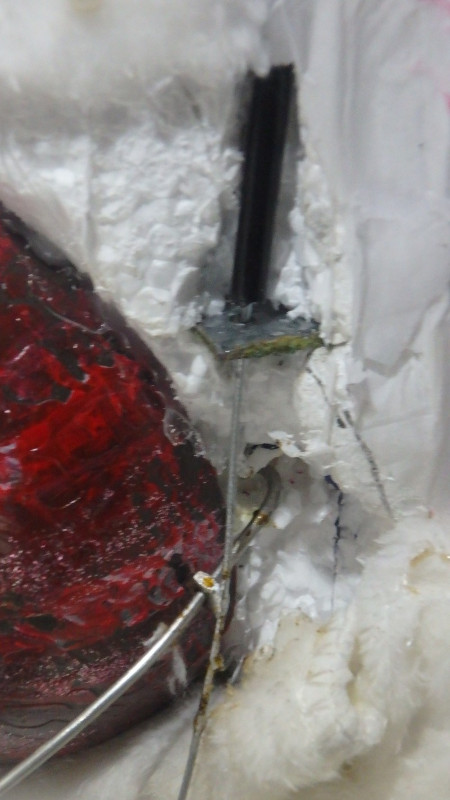
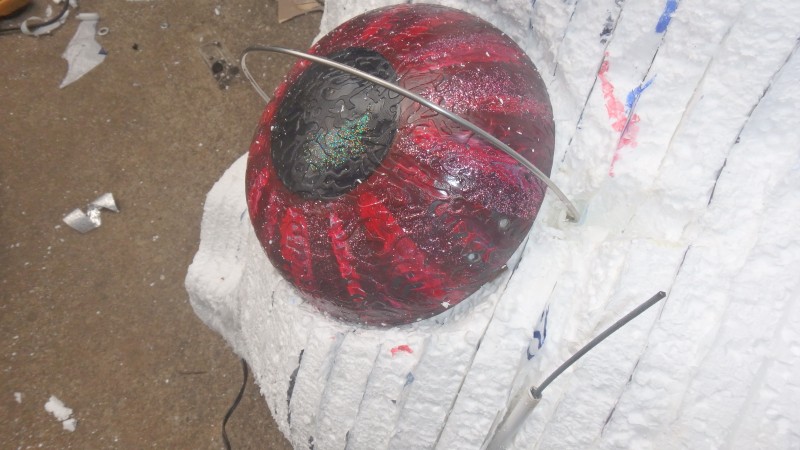
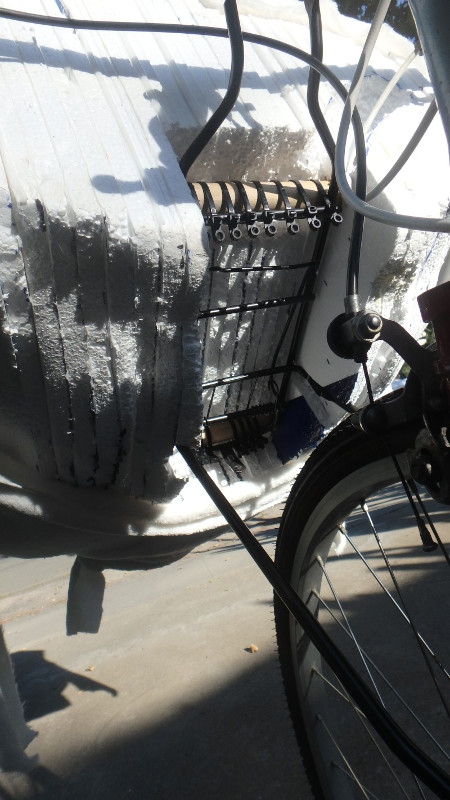
The eyes are independently controlled by a stem tube shifter that is mounted on the back of the head. To create a cable housing stop I inserted a stout piece of sheet metal into the foam and glued it in place. I then soldered the end of the shifter cable to a small nut that was slid over the eyelid rim. This allowed the shifter to pull and push the eyelids open and closed, respectively.
The eyes in operation.
At this point Yumi covered the head in fur and created brows and a mustache. The nostrils were accented with black paint and the forehead was paper machete'd and painted as pink scales. She also detailed the mouth to give Falkor teeth and a slight grin.
The last major touch was to attach the ears that Antonia sewed to the sides of the head.
We then attached the head to the front mounted rack using plenty of zip ties. The rack and head assembly can be removed from the bicycle by four bolts.

We covered the top tube with shredded fabric.

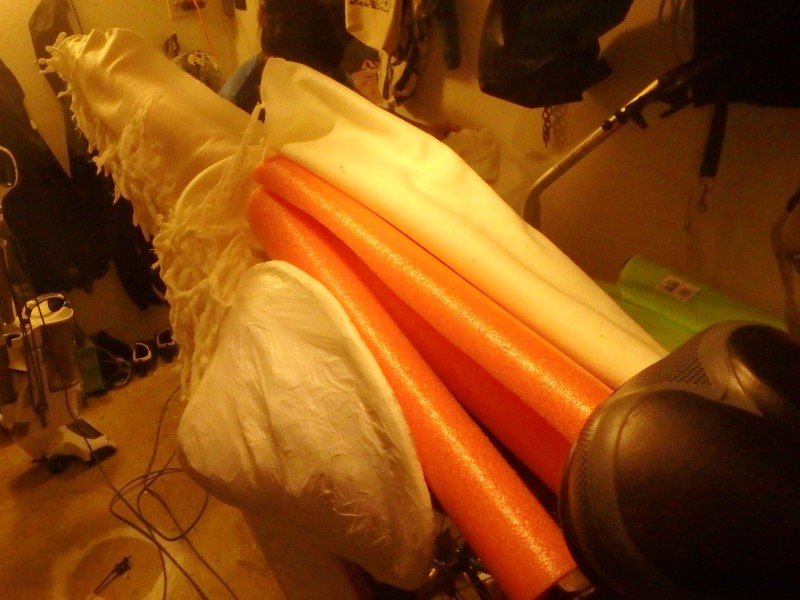
Here is the attached fabric and the pool noodle we used to support the tail. There is a wooden dowel in the pool noodle to give it some structure.
Antonia and Yumi carved the haunches by hand out of some leftover foam.
We used zip ties and dowels to attach the haunches.
The tail was covered in fabric and the rump was built up with pool noodle chunks and then covered too.
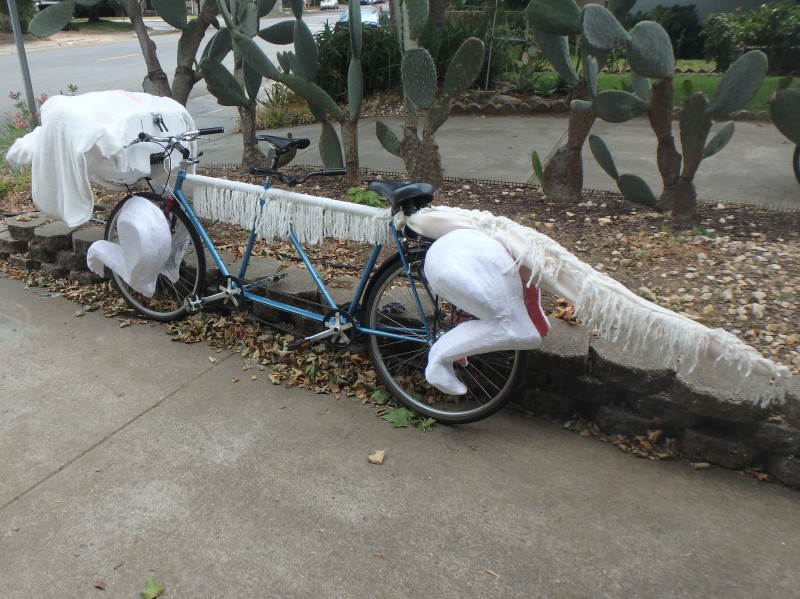
This shows the bicycle from the rear after it was completed.