Inkscape Free Body Diagram Tutorial ENG 4 Fall 2012
Get Started
Open Inkscape, you should have a blank drawing sheet.
Save your file: File - Save as.. (e.g. something.svg)
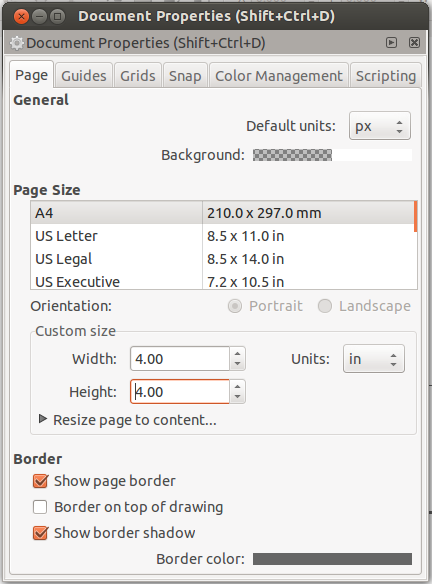
Open the document properties window: File - Document Properties and set the Page Size Units to in (for inches) and the width and height to 4 inches.
Now click the zoom to fit page in window button  .
.
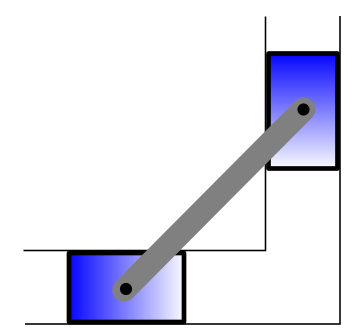
Create the slider blocks
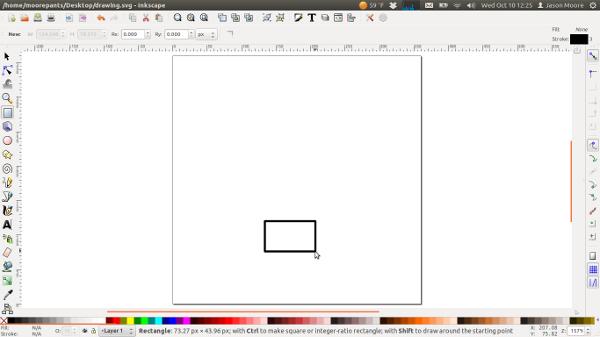
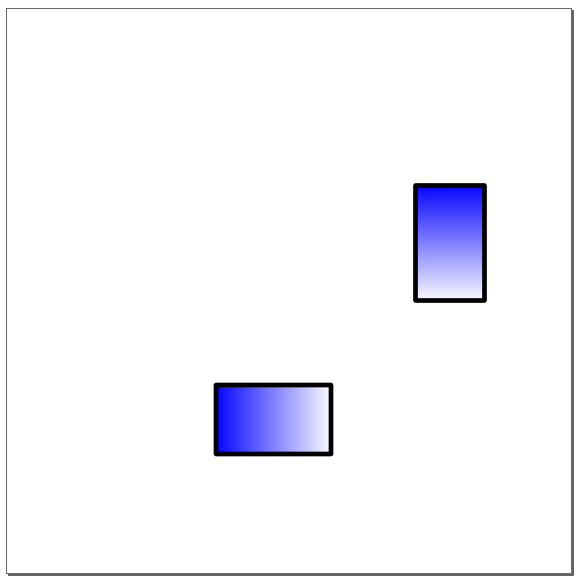
Start the drawing by using the rectangle tool  to draw the first
slider block.
to draw the first
slider block.
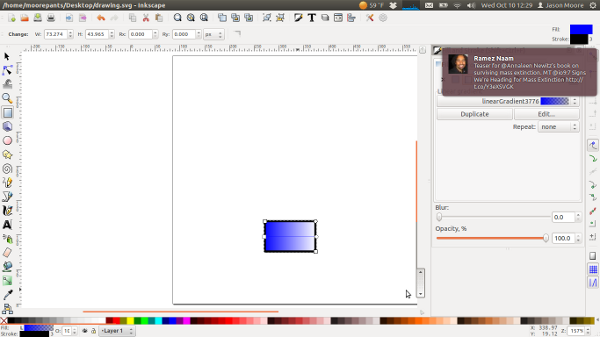
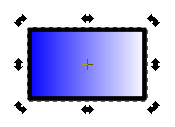
Change color to blue by right clicking on the blue square in the color bar and select set fill.
Click the "Edit Object .." button  and in the "Fill" tab select
linear gradient for the fill.
and in the "Fill" tab select
linear gradient for the fill.
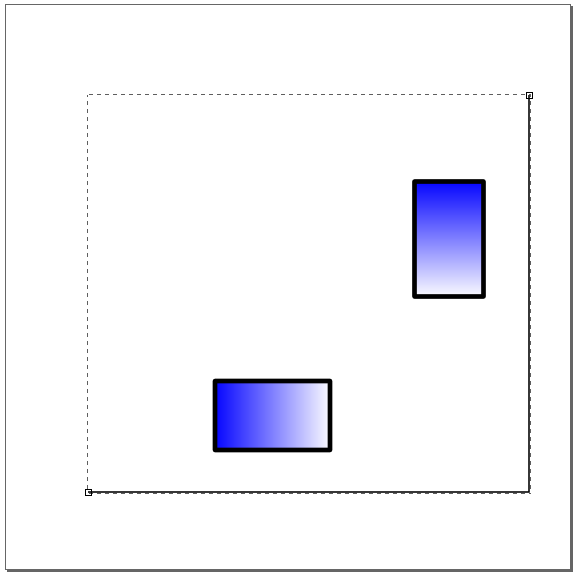
Select the selection tool and click on the first block. Copy and paste the block to create a second slider block.
Click the second block to reveal the rotation arrows.
While holding the Ctrl key select one of the curving arrows to rotate the block 90 degrees.
Drag the block into place by clicking its center and moving it with the mouse cursor.
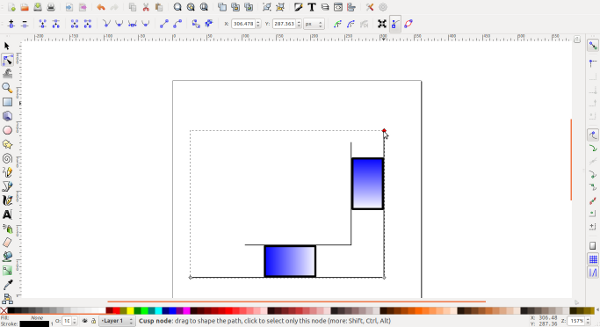
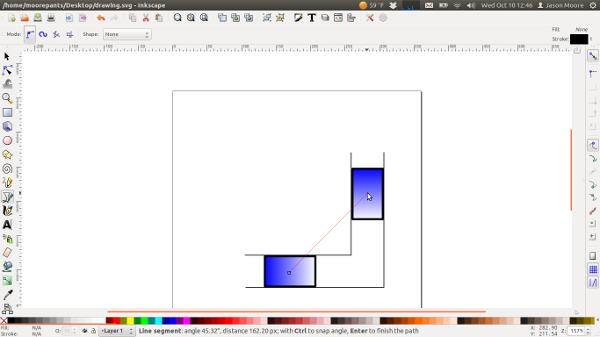
Create the walls
Use the "Draw Bezier curves and straight lines"  to draw an "L"
shaped lines to create the walls. Hold the Ctrl key while creating the
lines to make them perfectly horizontal and vertical lines.
to draw an "L"
shaped lines to create the walls. Hold the Ctrl key while creating the
lines to make them perfectly horizontal and vertical lines.
Use the selection tool  drag the walls to the edge of the
blocks. Copy and paste to create second wall and drag it to the other sides of
the blocks
drag the walls to the edge of the
blocks. Copy and paste to create second wall and drag it to the other sides of
the blocks
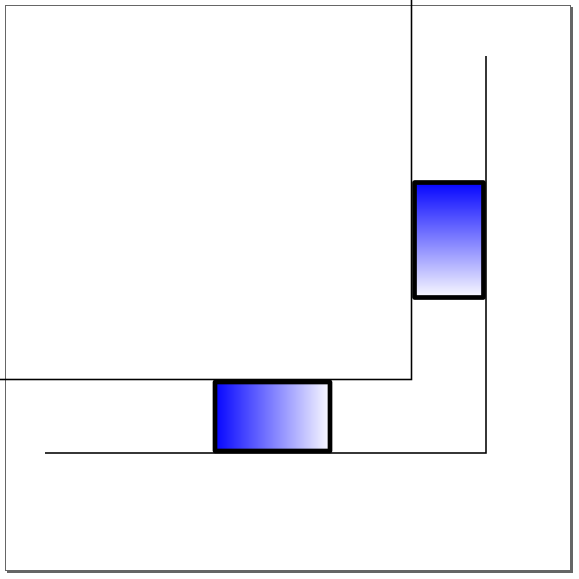
Use the "Edit paths by nodes"  to adjust the lengths of the
wall lines. Select the wall, then click the end node while holding both the
Ctrl and Alt keys to drag the node along the length.
to adjust the lengths of the
wall lines. Select the wall, then click the end node while holding both the
Ctrl and Alt keys to drag the node along the length.
Create the linkages
Use "Draw Bezier curves and straight lines" tool again to create the
linkage between the two blocks. Click the center of the first block, then the
center of the second block and press Enter to complete the line.
Use "Edit Object .." button the make stroke width 15 under the
"Stroke Style" tab and give it round caps.
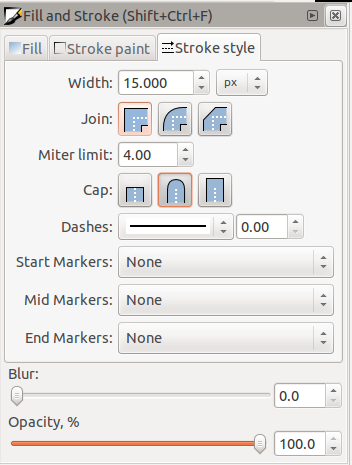
Set the stroke color to 60% gray by right clicking the color bar.
Use circle tool  to create a circle for the connecting pins.
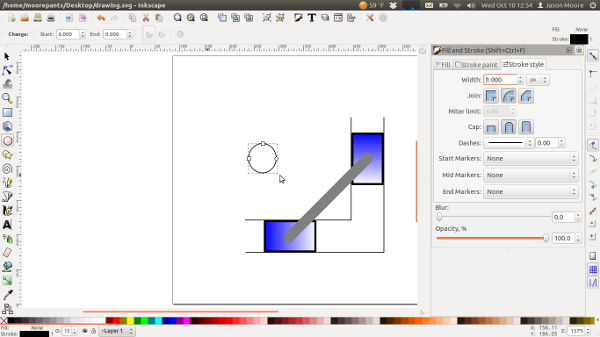
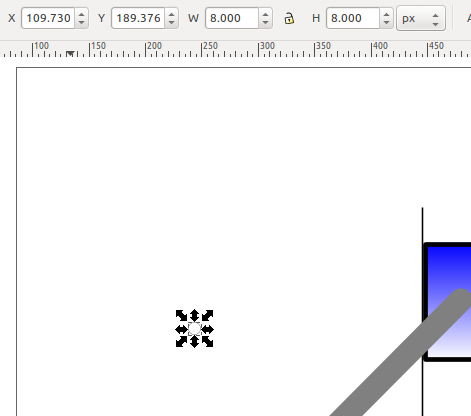
Select the circle with the selection tool the dimensions to 8 x
8, put at center of blocks to make connecting pins.
Set the fill to black and the stroke to none with the color bar. Then copy and paste and place two connecting pins at the ends of the linkage.
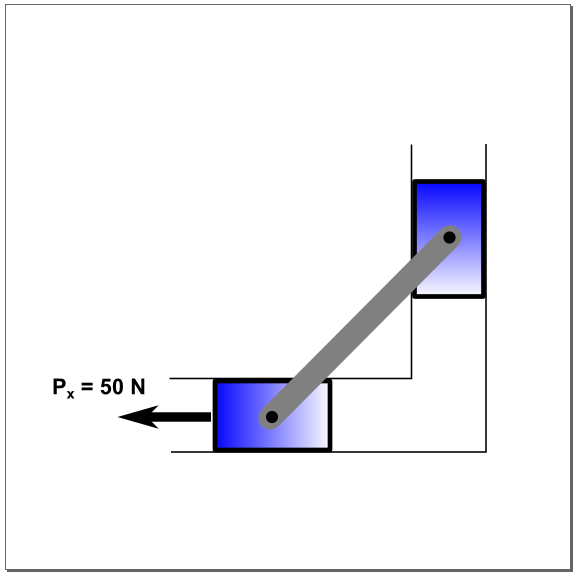
Annotation and Dimensions
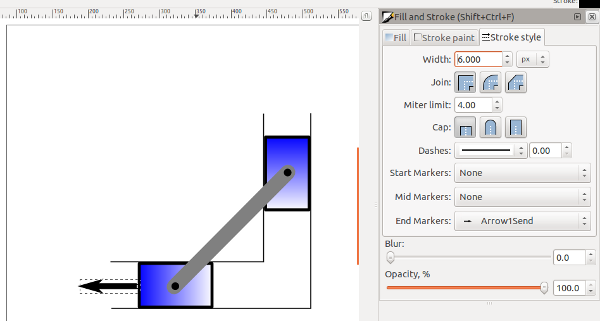
Use the "Draw Bezier curves and straight lines" tool to place a
horizontal line for the force vector next to the lower block. Set the stroke
thickness to 6 and add a small arrow head on the end.
Use the "Create and edit text objects" tool  to add a text box
above the arrow and put text "Px=50 N". Use the subscript tool
button for the subscript
to add a text box
above the arrow and put text "Px=50 N". Use the subscript tool
button for the subscript  . The font size should be 14 and the
font Arial.
. The font size should be 14 and the
font Arial.
Use curve and line tool to create dimension lines. You can copy the connector
bar and change its width and color to create dimensions lines at the same
angle. Set the width to 1 pixel and add small arrows to the dimension lines.
Use the paths tool to size the lines. Don't forget to depress
Crtl+Alt to change lengths of lines.
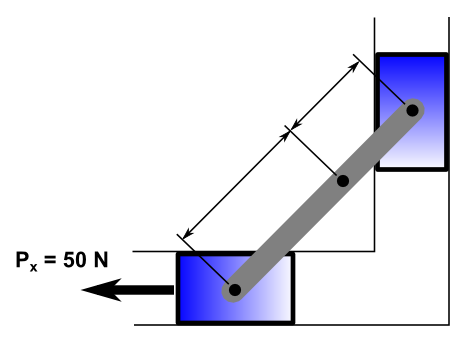
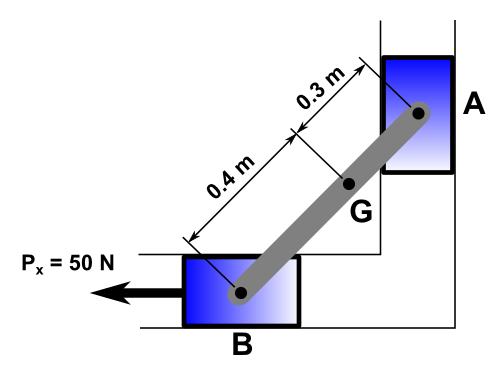
Add text for dimensions (14 pt font size), rotate the dimension text boxes, and drag into place. Label slider block "A", "B", and center of connecting rod "G" with 20 point font size.
Finally, you can save your drawing in PDF format (File - Save a copy) or a bitmap PNG (File Export Bitmap).